

Images from the Id – What you see is not what you get. Part 2 – the Pinhole Camera
This was the week to try to make a pinhole camera using my DSLR. I hadn’t even thought of this until last week and really got myself into it without much thinking it out. So it came down to what I learned and what I should have known.
The “Project”: Being a trained scientist, actually a Science Teacher, I can’t call this an experiment.
Equipment :
1. Nikon D7100- this is a high pixel, what Nikon calls a “DX” camera, meaning the image sensor is about 50% smaller that a 35 mm negative would be. As we will see, this is significant for a pinhole camera.
2. A stack of three extension tubes. If you like to take closeups buy a set of these as they allow you to focus any lens closer. These gave me a means to mount the “pinhole” on the camera. More hear later too.
3. Aluminum foil, something to make a pinhole in.
4. Tape to mount the Al foil (Remember Al is aluminum?) on the extension tube, Make sure it leaves no residue behind.
5. Tripod and cable release, I was still thinking 10 sec exposure from my college days.
6. Something to shoot, not easy around my house.
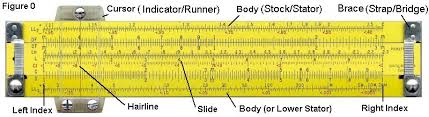
7. Slide rule, OK I’m not that old but I’ll bet I am the only one you know who can use one and has taught it. Well a leftover TI-86 will do. Ah OK, I used my iPhone.
Construction:
1. Take a piece of Al foil and tape it over the link, non-connection end (It doesn’t have all the little button sticking out) of the stack of extension tubes. Do worry just make sure you do not interfere with the connections and no light gets in around the foil.
2. This is the hard part, puncture as small of a pinhole you can in the center of the foil. Put one off center could be interesting if this works.
3. Mount the “pinhole” on the camera and set all the camera adjustments to Manual and ISO to the lowest- in my case 100.
Procedure- mount the “apparatus” on the tripod stick in the cable releases and point it at something out of doors.
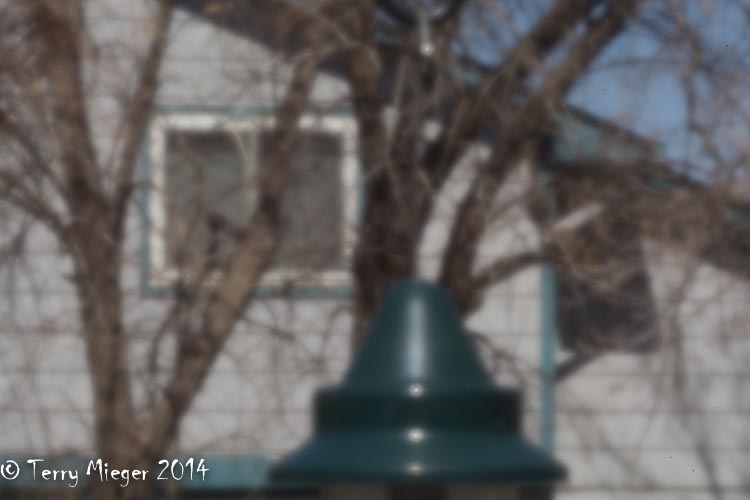
Attempt 1 – 10 sec Oh my, That’s way over exposed and I am getting only the top of my bird feeder. Notice nothing about f-stop or focusing.
Further attempts about 2 seconds worked best outside and 35 sec. inside the house. Interesting very “Grainy”, low resolution and telephoto!
 Next week the explanation what you should have learned.
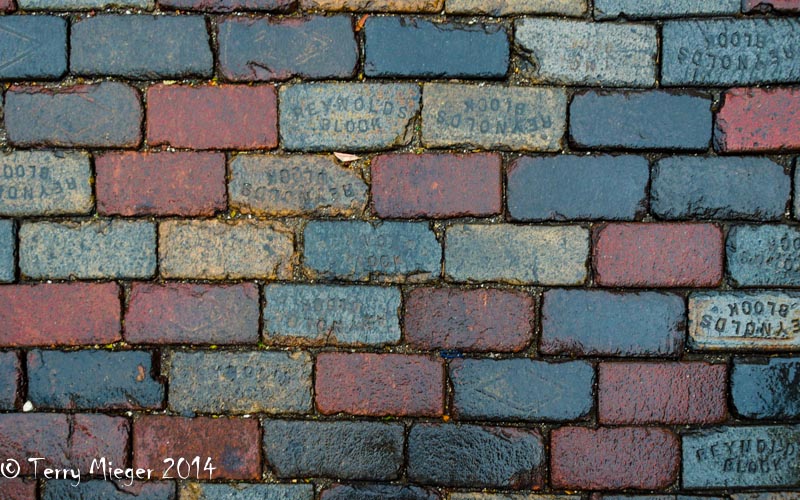
This week’s Photo
“Cobblestone”, Saint Augustin, Florida. a wet street, ISO 100; 1/10 shutter speed; f 7.1; 0 EV; 400/600 mm, Aperture priority; matrix metered. 20/30 mm, Cropped for composition; processed and sharpened in Lightroom 5.3. and Topaz plugins. This is one of my favorite Desktop Images


