Rss

Been & Going

[Images from the Id] – Watch your Ps and Qs or what does that manual really say?

1 Star2 Stars3 Stars4 Stars5 Stars (No Ratings Yet)
Loading...

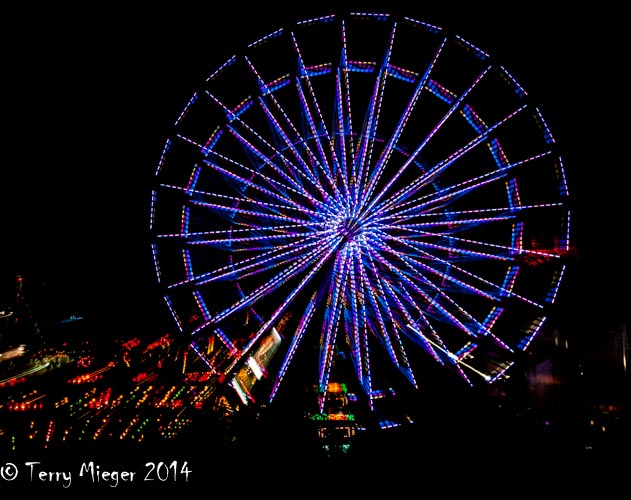
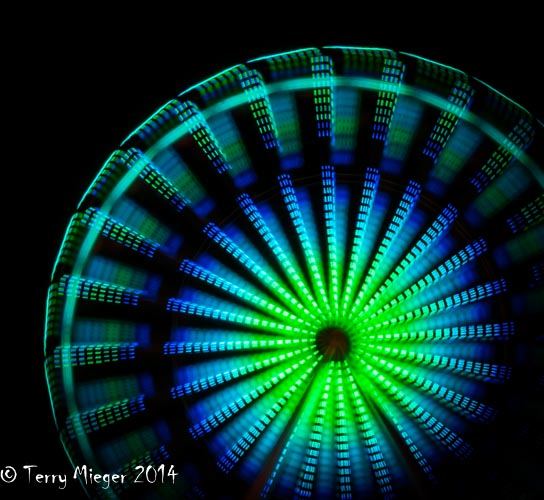
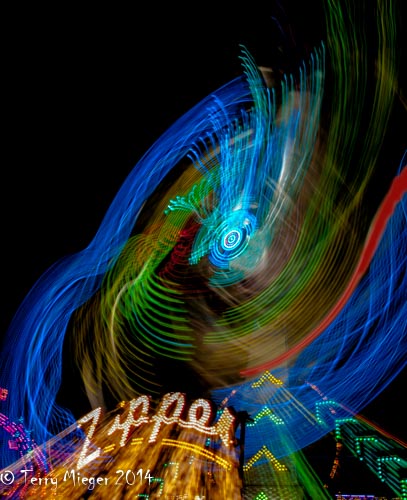
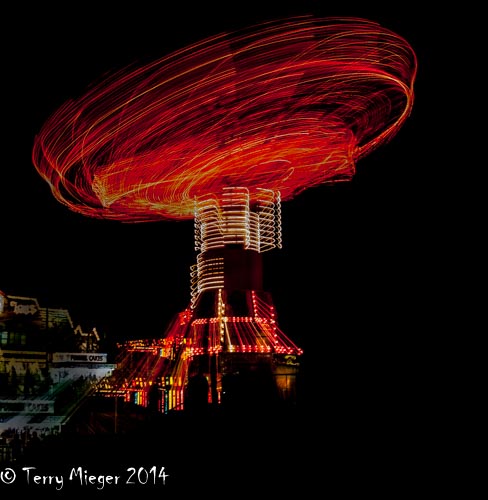
Images from the Id – Watch your Ps and Qs or what does that manual really say?

After a pretty miserable start, we arrived at Rocky Mountain National Park much too late for anything to happen or even be encouraging in terms of photography. You need to remember, sometimes getting going early in the morning is just not in the cards and after too long of a breakfast at local truck stop, we finally arrived. Part of the reason for the trip was to check out the damage from last September’s floods. Both the Alluvial Fan/Indovalley and Fall River Road were basically wiped out. They are to re-open in about a year and the great fall colors of the area will be missed this fall. On the high side, after 3 years the Bear Lake Road was completely open and we had been earlier we could have driven to the lake but were not the mood for the shuttle. Why did we go up on a Sunday?

As expected not much going on, way to late for any self respecting wildlife, and even landscapes are bad in this light. My shooting became an exercise in getting images for a presentation I am giving. That was pretty much crap because of being too lazy to carry the tripod. Or was it just forgetfulness that I would need it?

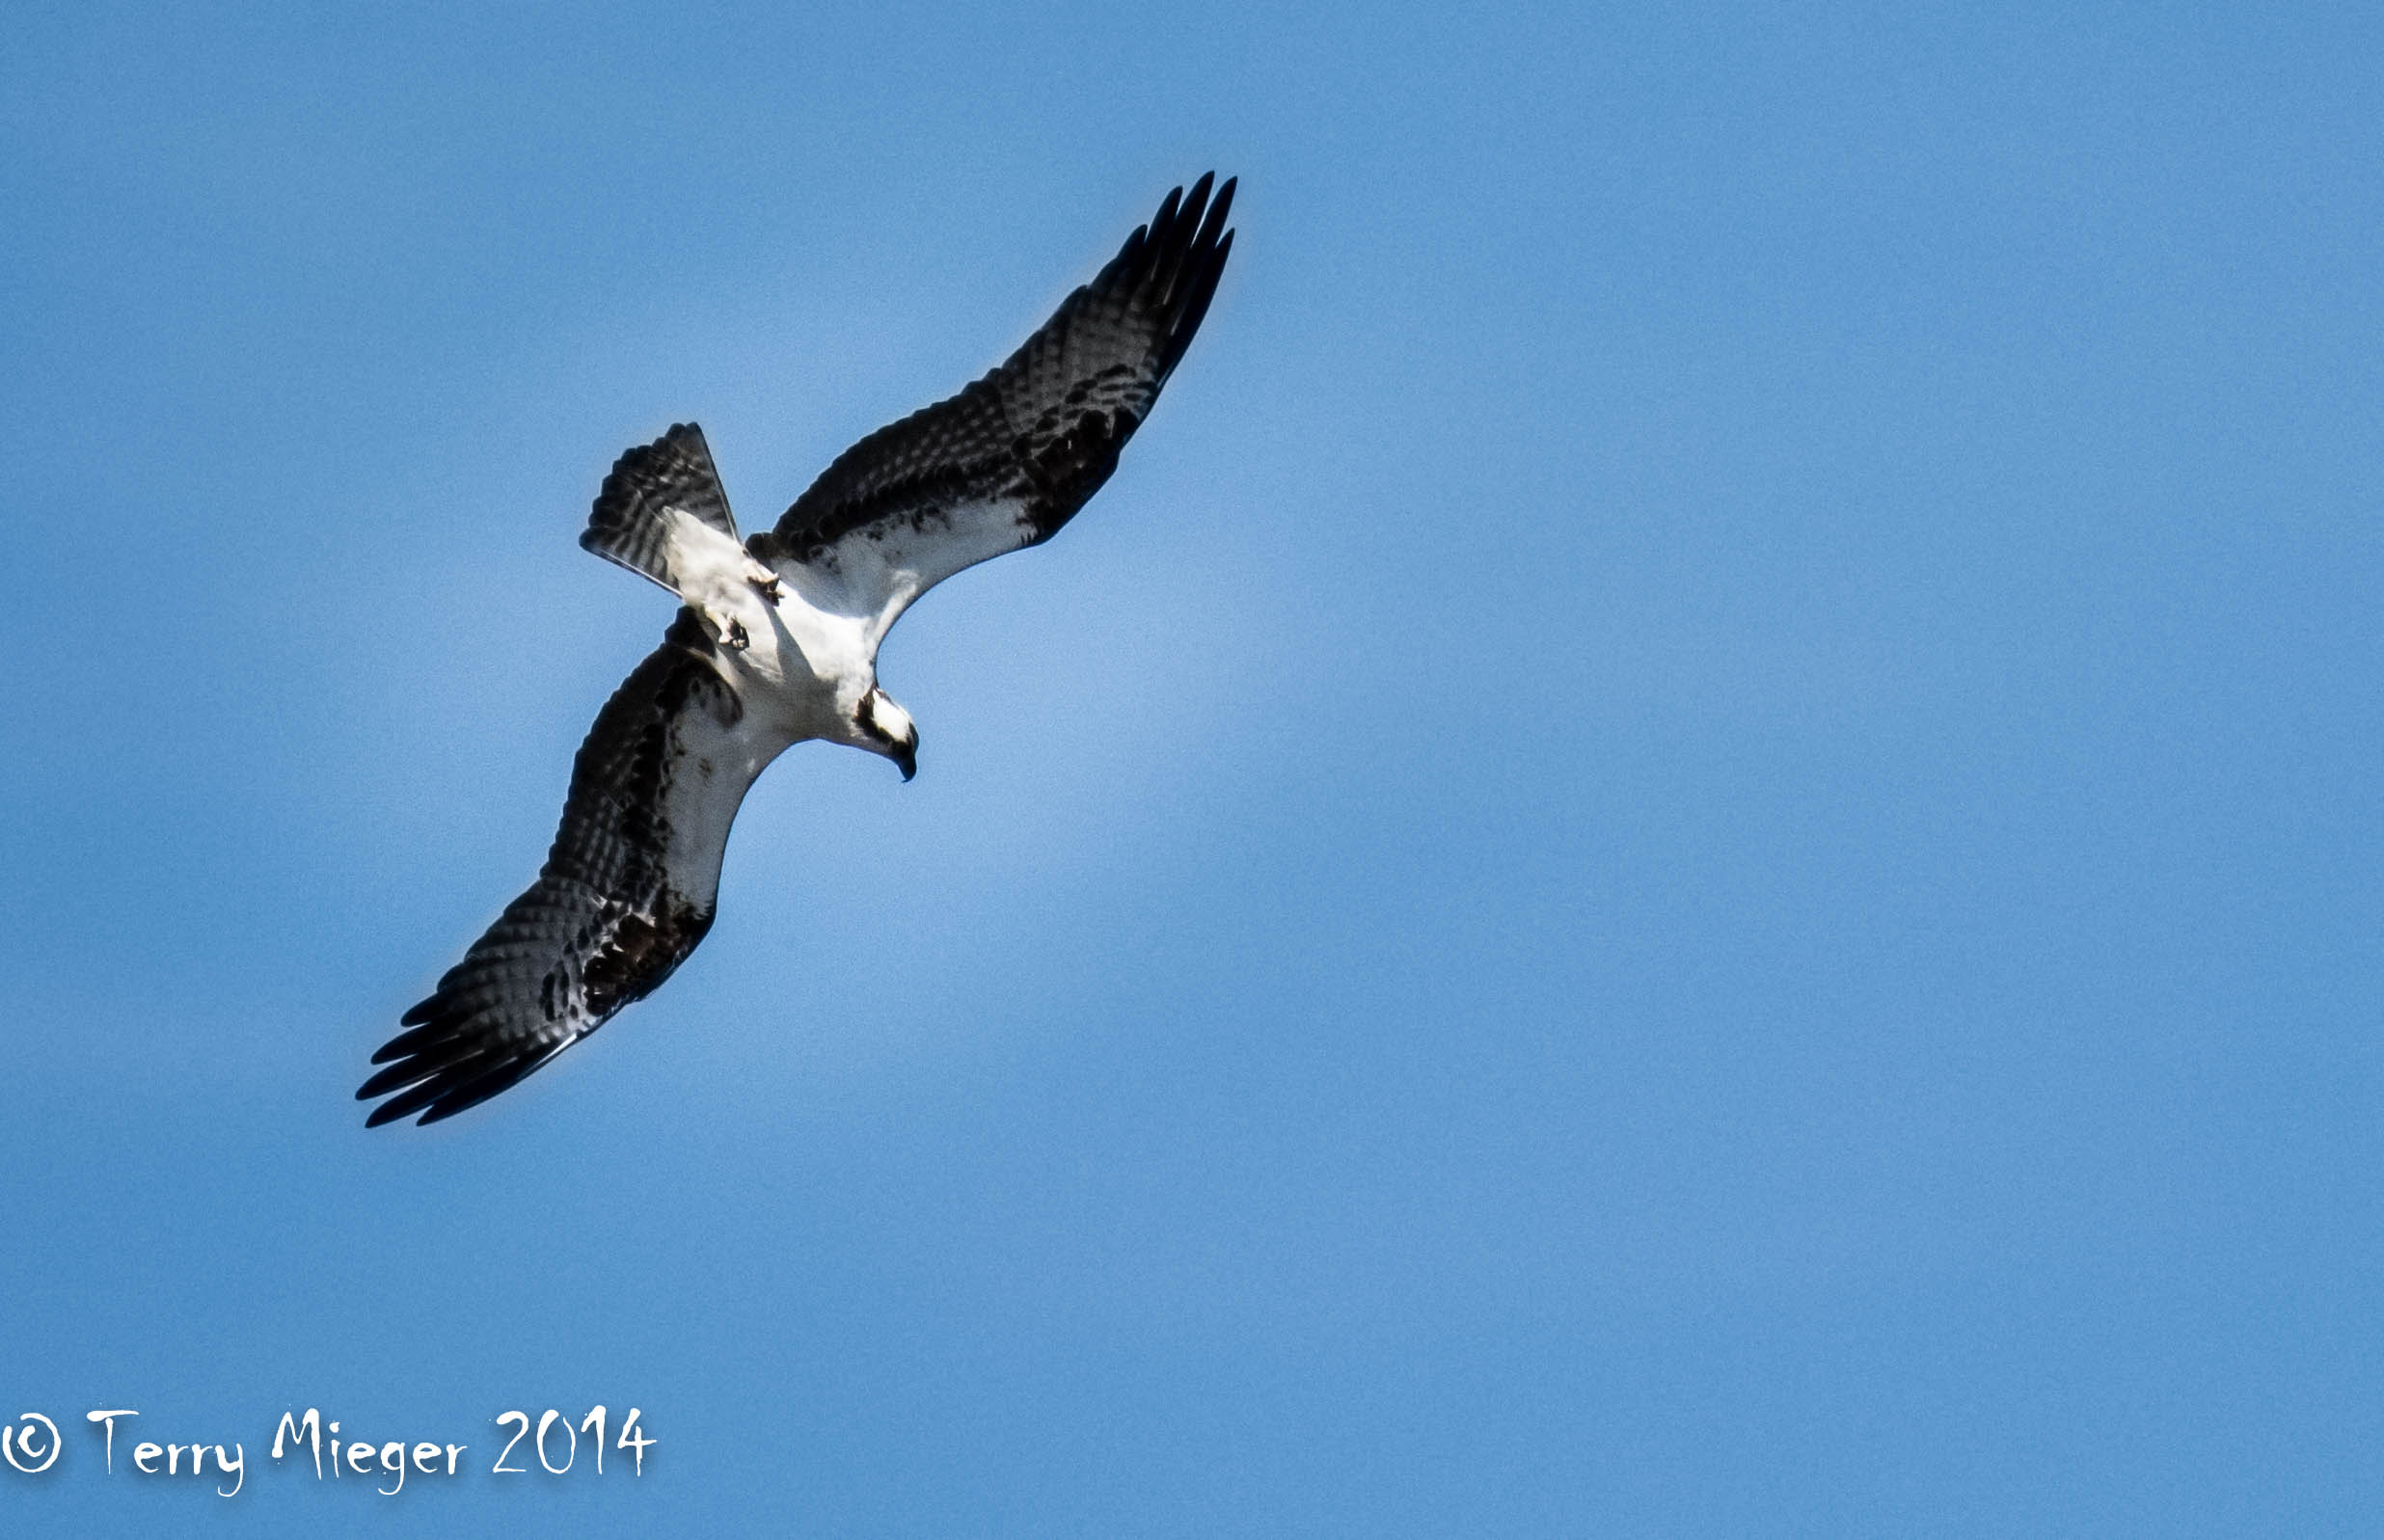
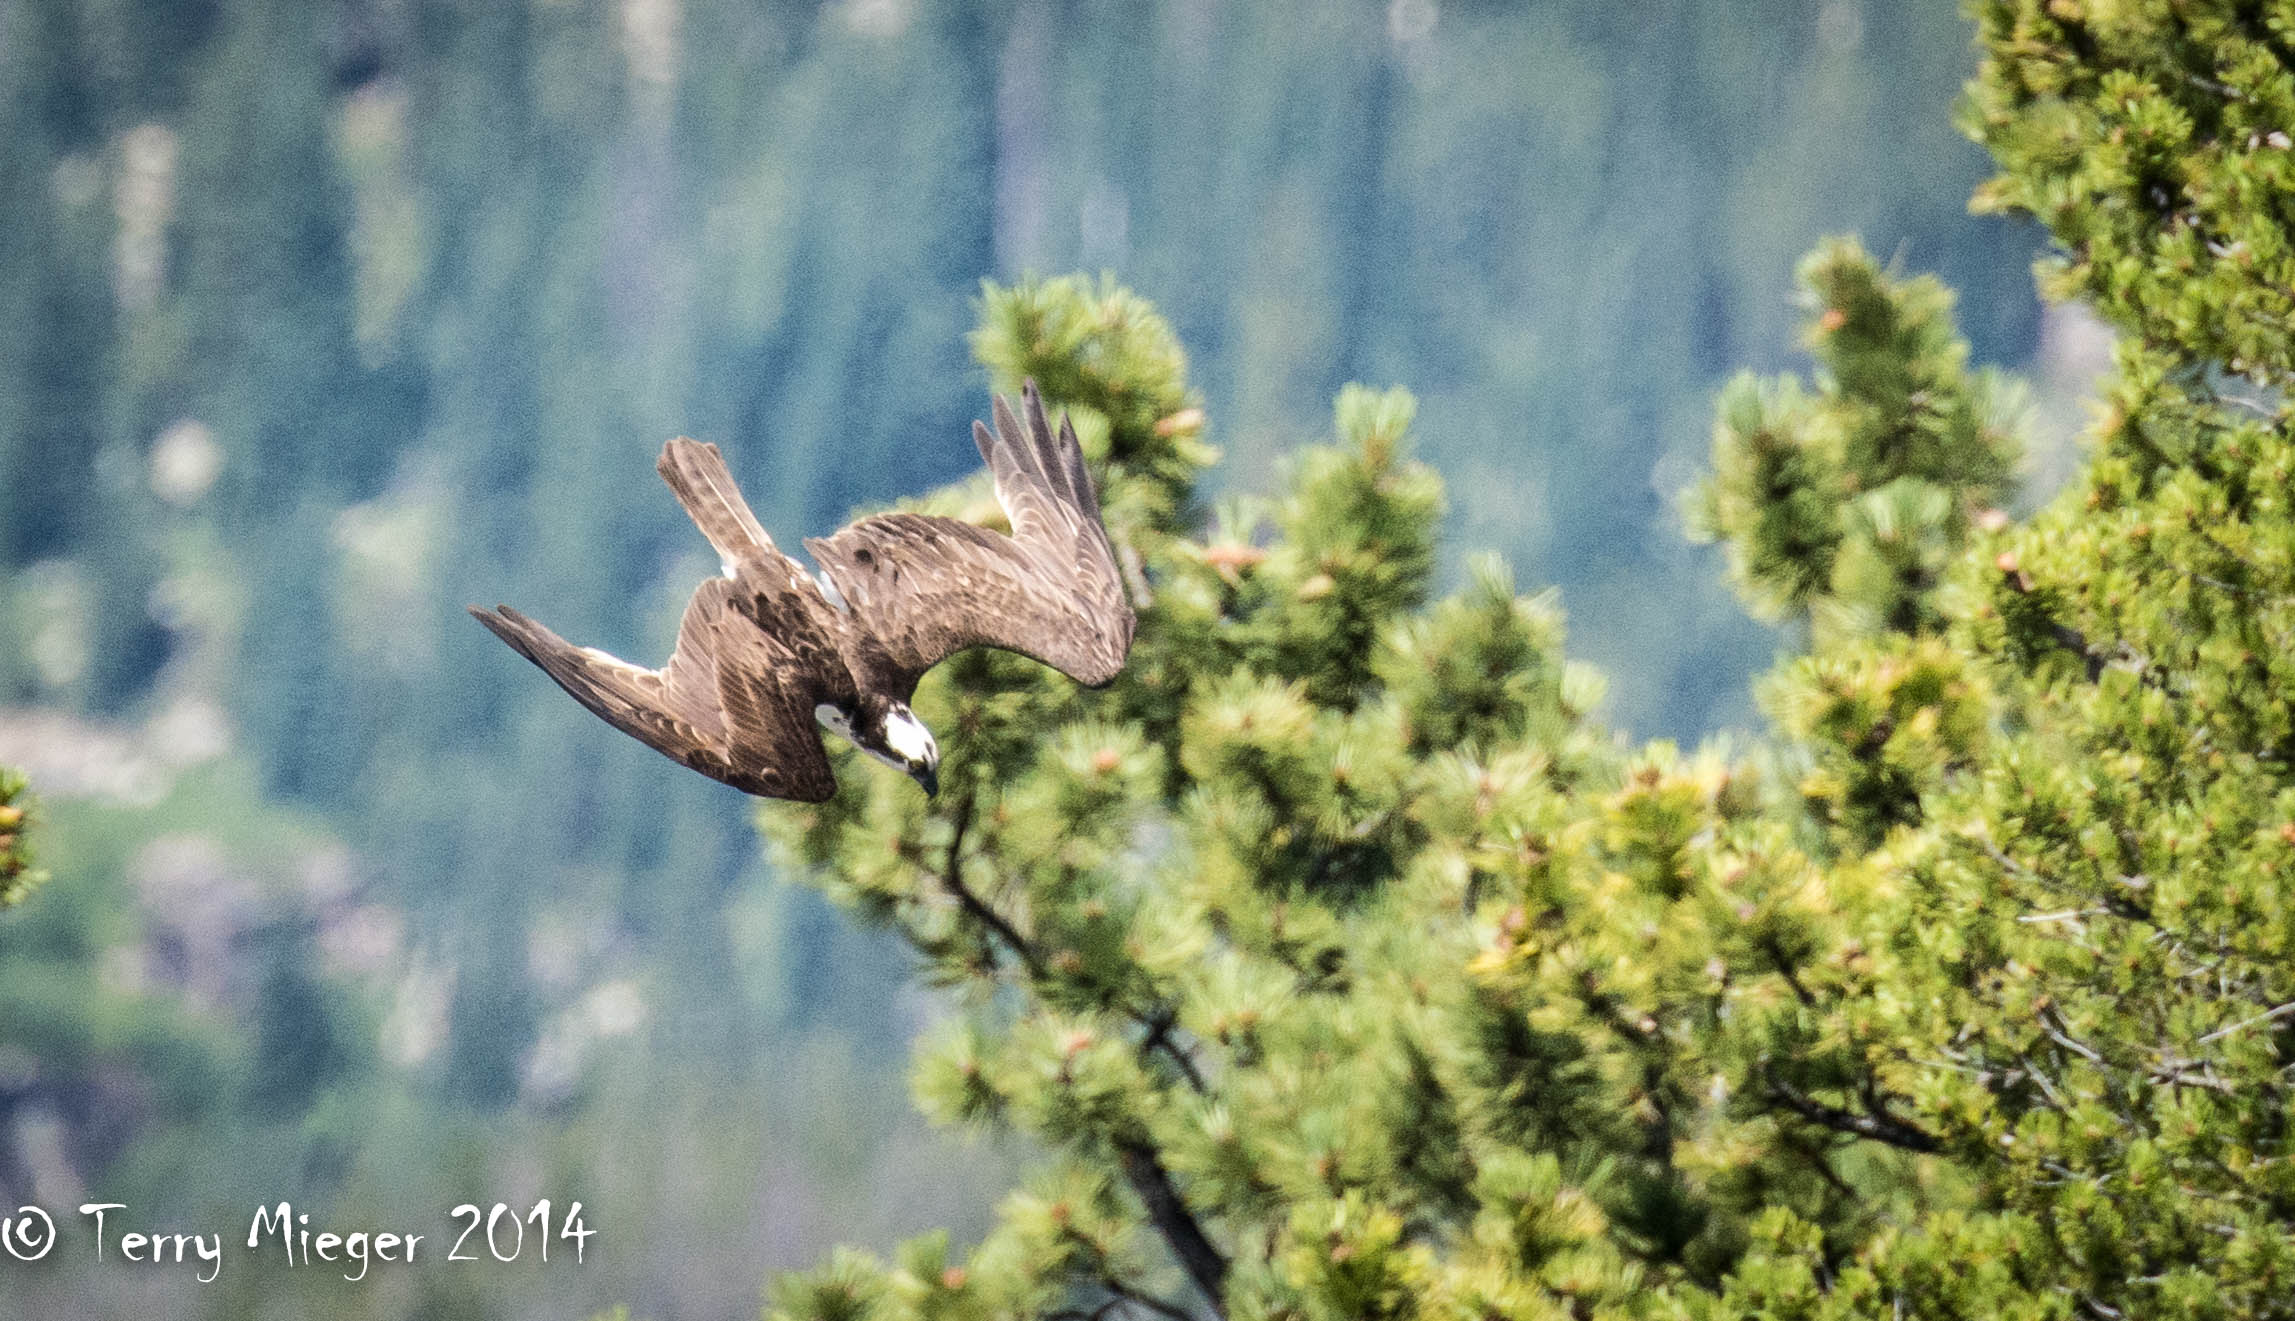
Sprague Lake is a favorite for landscapes of Hahn’s Peak and surprises. Just call me quick draw. I was shooting some “nice” scenes of a couple of fly fisherman and above appeared an Osprey. The good news was the 80 mm to 440 mm lens was on the camera, the bad news; the camera was not prepared for shooting the bird, especially in a dive. Solution is all based in experience and knowing your camera. Did you read that manual?

The Camera menu settings take too long to do that fast so… have the focus lock on the back button for all of your photography NOT on the half pressed shutter button. This takes a while to get used to, fro me a couple of hundred shots, but do it!  You can use the on-camera settings (if you have them) with that setup, use continuous servo (in your manual) and 3d focus metering. Exposure metering should be “spot” and the shutter should lock it (these may not work for you so experiment) Have the ISO easily changed. I have mine adjustable on one of the top control wheels, Know how to change the frames per second quickly.

So there’s the bird, within seconds I have the ISO, frame rate, and metering reset. Just practice and take a lot of photographs for re-enforcement.

Results: The camera basically locks on for the first shot and follows the action. As the bird got to the trees the camera tried to follow the trees 8-( Back to the manual. Hum, if I slow down the tracking lock on it should not lose the bird so quickly. I always learn something.

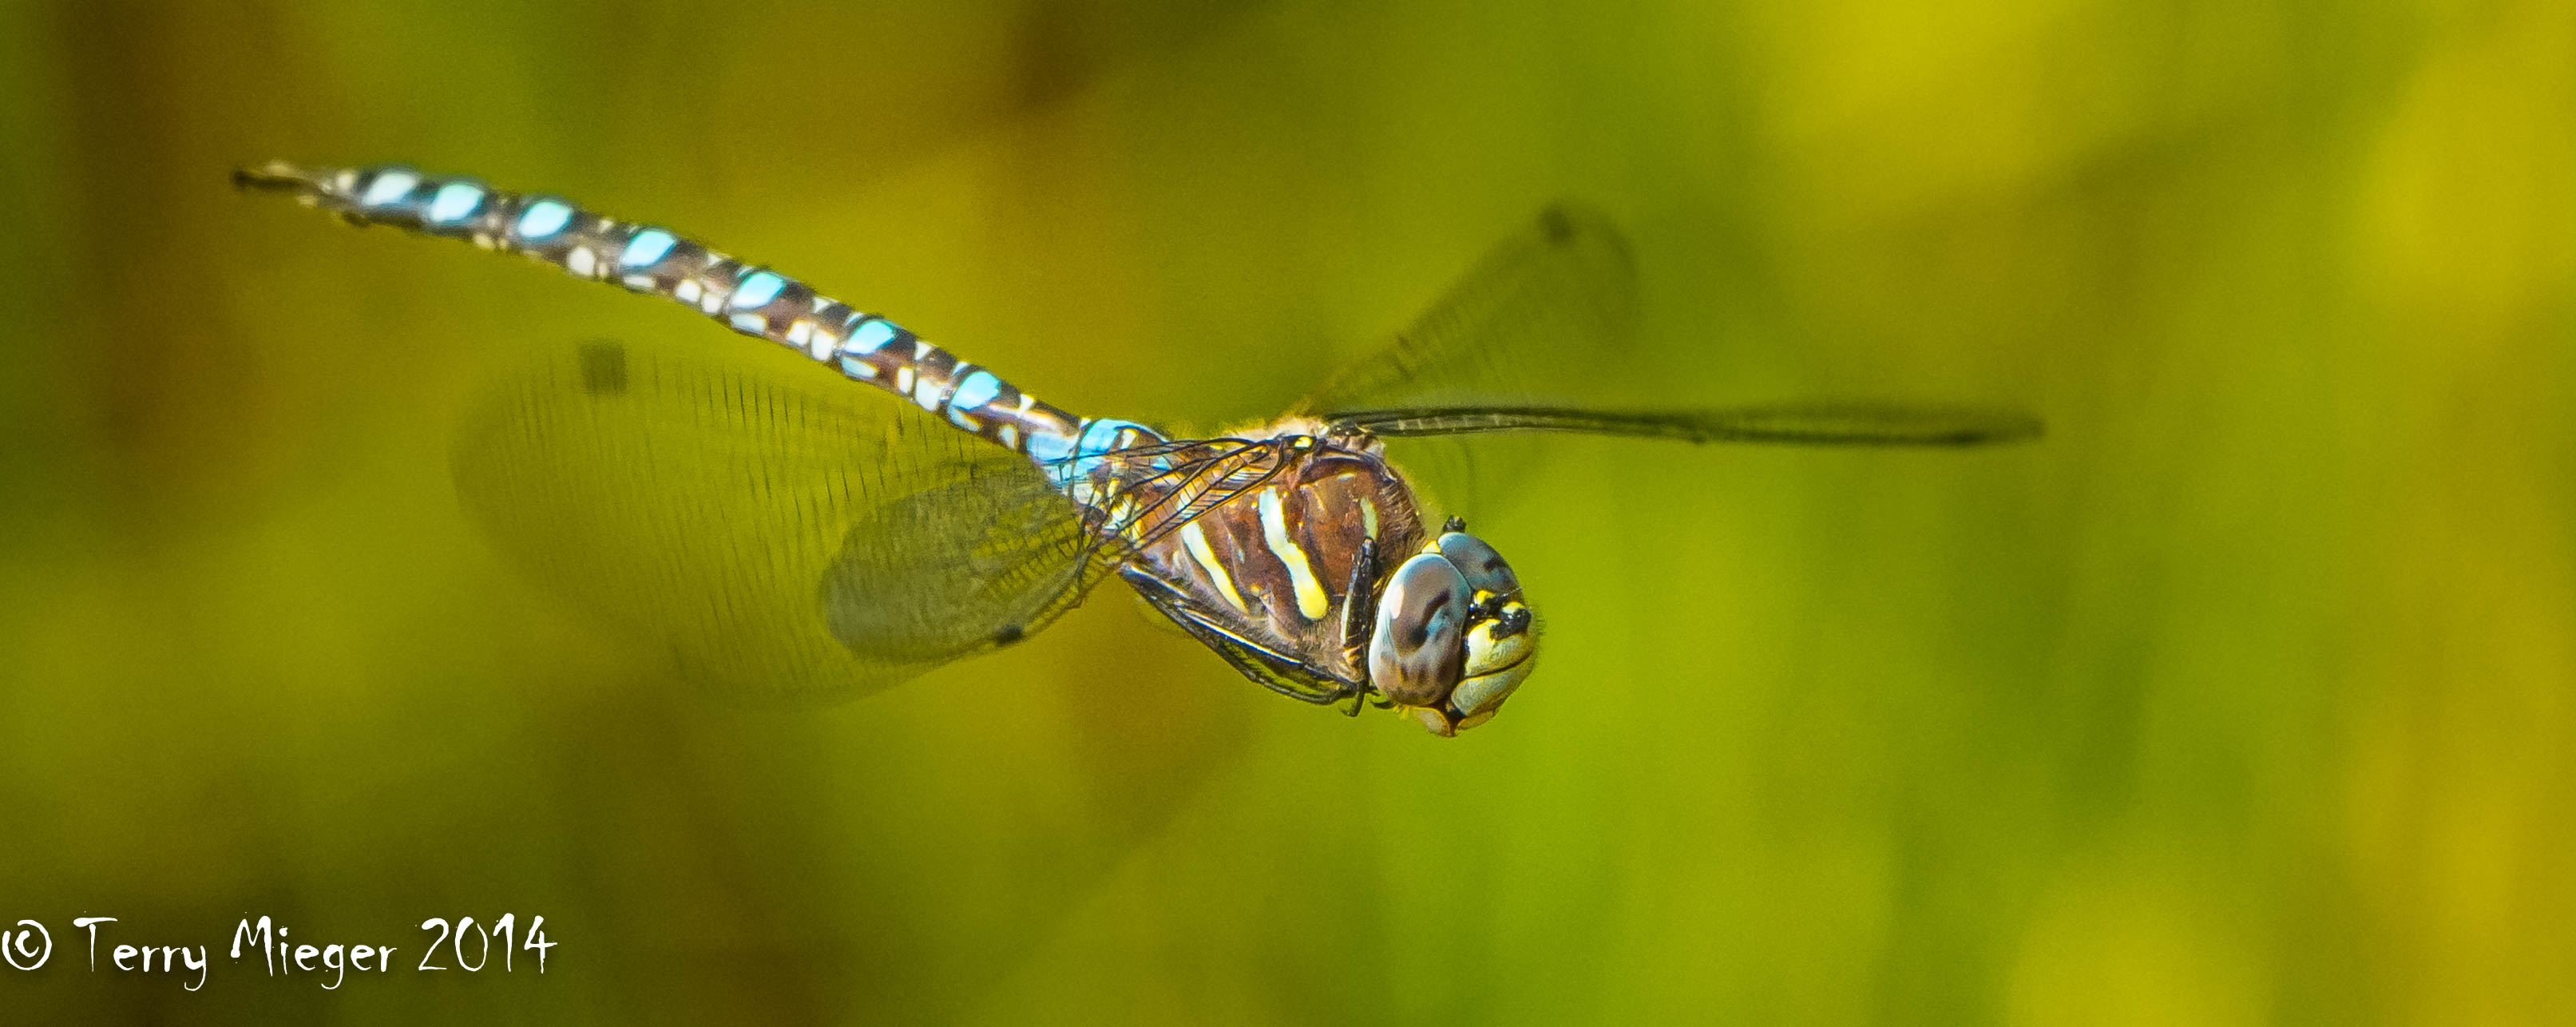
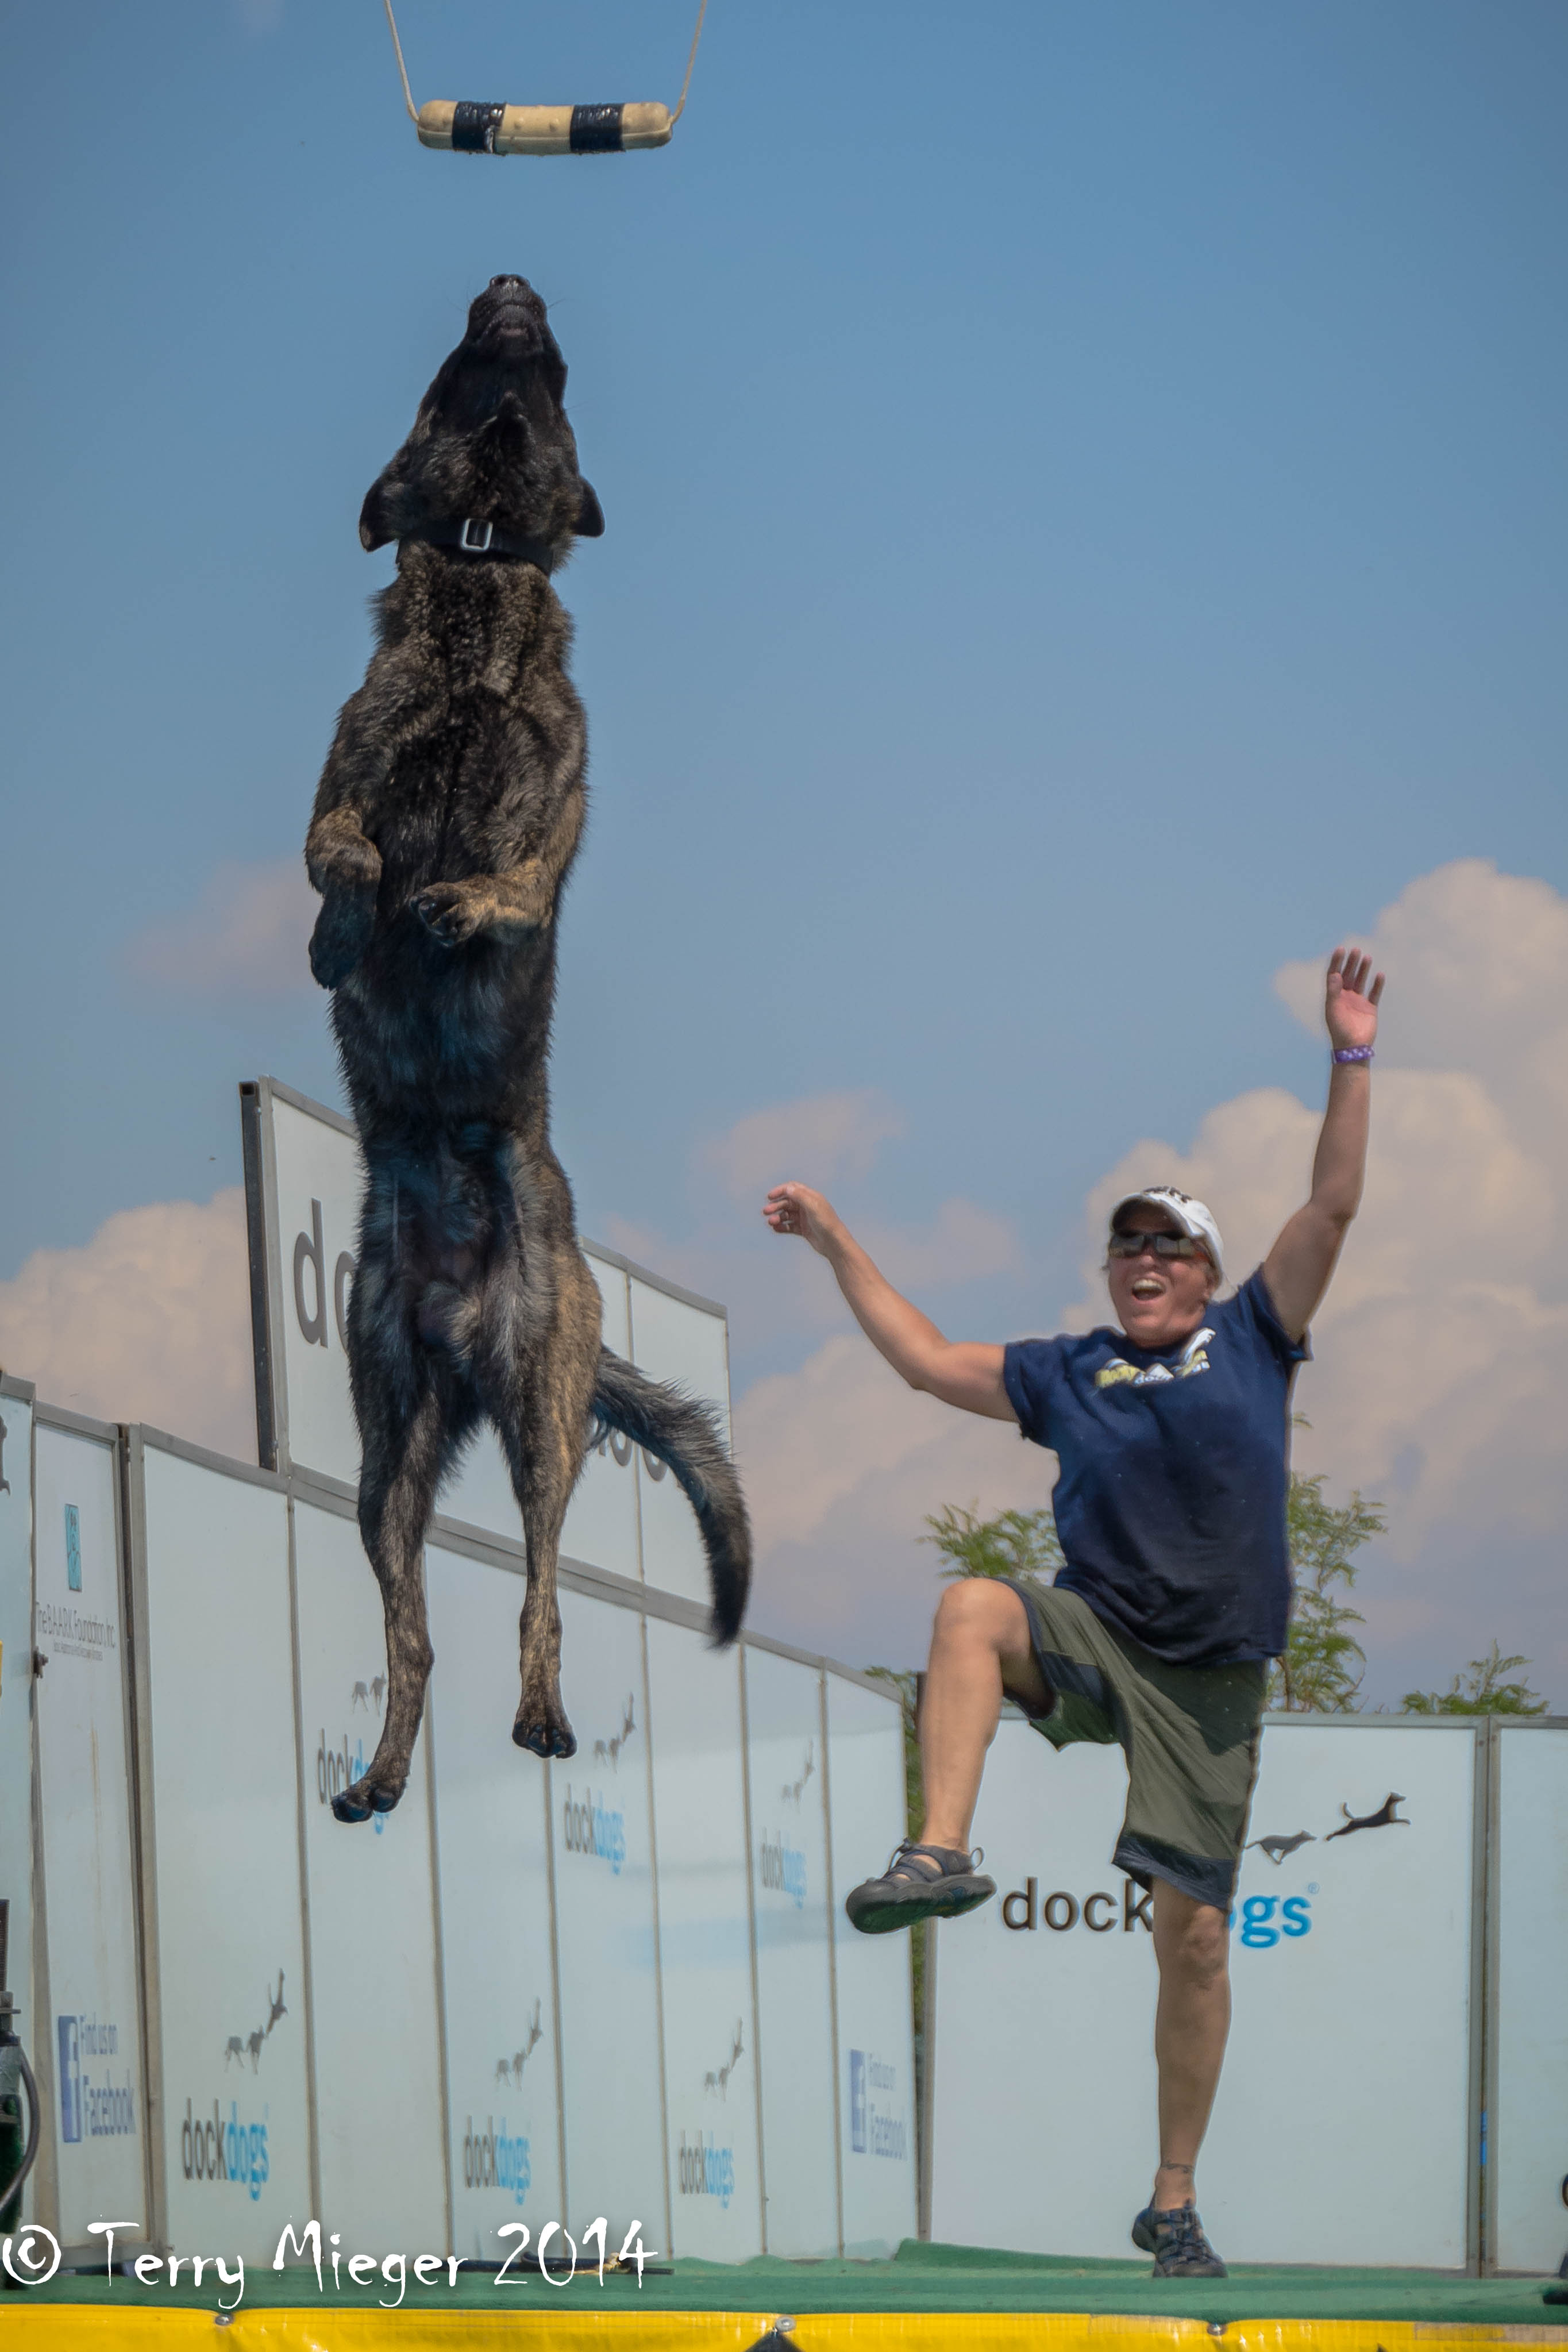
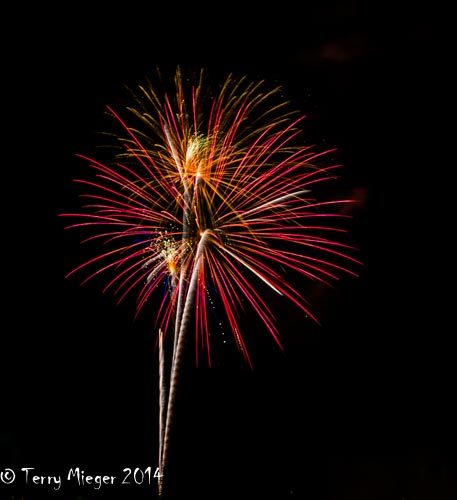
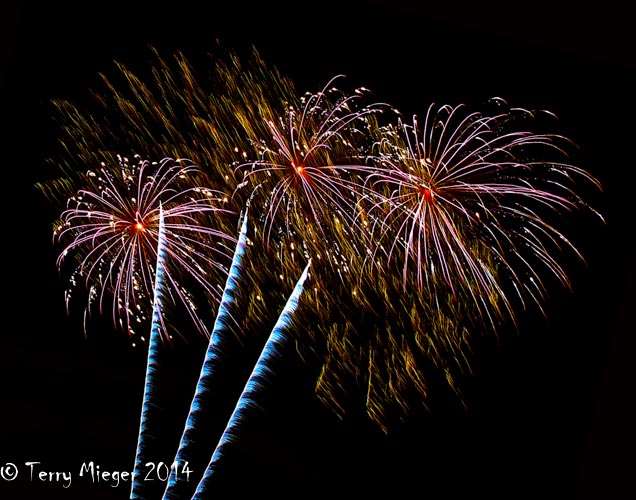
The settings for all of these are basically the same

Iso 800, 400 mm/ 600mm, 0EV, metering was Pattern (not spot), 1/6000 sec, f/5.6

Osprey 2-001


Osprey 2-002

Osprey 2-003

Osprey 2-004

[Images from the Id] – The Importance of Being…or Backup Backup, Backup

1 Star2 Stars3 Stars4 Stars5 Stars (No Ratings Yet)
Loading...

Images from the Id – The Importance of Being…or Backup Backup, Backup

I entered the week with the sincere belief that things would be different this. The best plans of men and gods bend at the whims of fate. Sunday, the MacBook Pro crashed. It had served well for 4 years of extensive work, but the point really is, how well prepared are you for the worst computer meltdown? I back up all the time at least twice a week for the system and every shoot or Lightroom session. Have a plan and stick to it. Being an Apple product user this is all very easy. The Mac OSX has a function called “Time Machine” which is absolutely amazing with the ability to keep even hourly backups if needed . These are not just data backups but complete system backups. I do this about twice a week and before any major work session. I back up all of the image files at the conclusion of each session. I use backup software called Goodsync and have also used Chronosync. Both are good with not too steep learning curves. This means I have three up to date copies of all my images and Lightroom catalogs.

After catastrophe

Other than the pain of getting a new computer things have gone well. The initial setting up of the hard drive was completely automatic and Time Machine did it in two hours. I now have a computer setup exactly like the last one. Well almost. The “old” computer had to drives and setting up there single SSD drive on the new one was the easy part. Even reauthorizing the Adobe apps and, luckily, this was a big worry from past Microsoft experiences, I got MS Office up and running. Now how to get this year’s image files, which were on the second HD, on the new computer and link to Lightroom? I move the files to the system (SSD) drive and sync to Lightroom in the Library Module. They are still a little bit out of sync but in a few days I’ll get it how I want it. I am going to miss that 300 Gb of extra HD. In the meantime let’s look at a photo

Mueller State Park on the west side of Pike’s Peak is one of my favorite camping areas. It’s quiet. The hiking trails are shorter and easier than most. It has beautiful scenery but not a lot of wildlife action. Actual there is one thing that has become my favorite place to shoot. It’s a little pond called Dragonfly Pond and it is exactly that, a great concentration of dragonflies. These guys are extremely difficult to shoot but practice makes perfect, well almost in this case. Just try to track and focus on a fast flying 2-3 inch dragonfly.

Dragonfly1-001

Dragonfly 1/2000 se. f/6.7 ISO 800 400 mm/600 mm -1/2 EV


[Images from the Id] – What a Week or Just Keep Plugging Along.

1 Star2 Stars3 Stars4 Stars5 Stars (No Ratings Yet)
Loading...

Images from the Id – What a Week or Just Keep Plugging Along.

Sometimes you hit the wall. Well not literally but you do hit a point where nothing seems to work. Actually, I am talking about is a special situation where your efforts are really working but they seem to be total failures. For me this can be very a frustrating combination of writer’s block and manic depression. I really don’t want anything to do with the world and just want to sleep this off like a bad hangover.

So recapping the week, Last week we setup a photo show for the Club. Looks good, lot of good photographer in the group. Crap, is mine over priced? Mine ended up in front of the Johns. Ha, everybody “goes” there. The other half of the story was I had to hang 20 photos for 3 people and had a dental appointment which expanded into two appointments. Could not get the hanging straight. Oh well, at least I didn’t have any pain.

Sunday, Rocky Mountain National Park, I have a rule never go to RMNP or any NP on a weekend. I have broken this too often. Never get to a shoot after 7 am. Broke this one too.  Big crowds and bad high sunlight. How do I save this one? I shoot a series of landscape images for a focus stacking workshop I am giving in September. Better for the attitude? so..so. Hemming and hawing around and never get any prints or competition Monday night. Lazy? No just funk. Writing a blog, crap- I’ll write this one as “Just wait till next week

The images were all taken at the county fair of dog competition jumping for distance and height. The keys are include humor, action and people in various amounts.

Dog-005 Dog-004 Dog-003 Dog-002 Dog-001


[Images from the Id] – How Not to Shoot a Desert or Walt Disney Move Over.

1 Star2 Stars3 Stars4 Stars5 Stars (No Ratings Yet)
Loading...

Images from the Id – How Not to Shoot a Desert or Walt Disney Move Over.

In the mid 1950’s Walt Disney had a TV show which in one incarnation or another lasts to this day. I have vague remembrances of some of those early shows. The nature shows were the forerunner of the much of those we see now and in many ways were one of the things that pushed me to studying Biology and eventually photography.  Those were very different times with very different and even simplistic understanding of the world. Native Americans were admired for many reasons but other people did understand or concern themselves with the use of terms and words which the native people felt were derogatory and demeaning.

In a program dealing with American Folklore there was a song which describes how Pecos Bill created the Painted Desert (among other geographical phenomena). To paraphrase and make them slightly more acceptable, The Painted Desert was created by the Native American’s “jumping out of their makeup”. Please don’t condemn attitudes and words taken out of the context of their time. We knew no better and lacked a deeper understanding of the sensitivities of all minorities. It was wrong, but we didn’t know it. Yes, some people did it with derogatory  intent but like, Disney’s TV shows, most of us just did out of ignorance.

Also by the way 1931 Movie “The Painted Desert” was Clark Gable’s first “Talkie” – but with no concern about the origins of the Desert.

Geographically speaking the Painted Desert is huge and much of it on Navaho land. The Desert geologically consists of easily erodible sandstone with a great variety on metallic minerals giving it the colors. Many other kinds of “rock” are present. The area I was interested in is actually part of the Petrified Forest National Park. This area is a great place for photographers. We were coming from the west so we decided to enter the park from the south and meet I-40 on the both end. The Park Office is about 50 miles from Holbrook but there is a lot to see before you get there. The Petrified Forest gets its name from the great number of Triassic Period (Maybe they “saw” a T. Rex.) petrified trees scattered across the landscape. Their colors are amazing.  Don’t miss the huge rock store on this route. A great amount of petrified wood in all sizes and colors.

So what went wrong? Basically the weather! We had some sun at first but it disappeared quickly and then a little rain later. How do you handle the clouds and the color shift they cause? It’s primarily a white balance problem. Shoot a frame of a 18% Gray card. By doing this you can inform your software what gray should look like. In Lightroom 5, I use this to setup a preset I can use on all on the images I took during that time frame. Also don’t forget the wildlife. Best solution is to pick a better day

Petrified Forest-001-2

The iconic Petrified Forest image “Logs” 1/180 sec, f/11 -1/2 EV, ISO 100, 150 mm/225 mm. Worked on extensively in Lightroom 5 for white balance and colors.

Petrified Forest-001


“Log”  1/2000 sec, f/6.7, 0  EV, ISO 400, 95 mm. Worked on extensively in Lightroom 5 for white balance and colors.


Painted Desert-001

“The Painted Desert”  1/180 sec, f/9.5, 0 EV, ISO 100, 40 mm/60 mm. Worked on extensively in Lightroom 5 for white balance and colors.


Collared Lizard-001


“Collared Lizard”  1/1000 sec, f/5.6, -1/2 EV, ISO 140, 200 mm/300 mm. Worked on extensively in Lightroom 5 for white balance and colors.


[Images from the Id] – Doc or What Came First the Motel or the Movie?

1 Star2 Stars3 Stars4 Stars5 Stars (No Ratings Yet)
Loading...

Images from the Id – Doc or What Came First the Motel or the Movie?

One the basic requirements of being a photographer is luck. Now don’t get confused, luck has nothing to do with some magical ability to win at roulette. I firmly believe in making your own luck. In photography, this means you have to get out there to find the stories you want to tell and the best will eventually come to you. You roll the dice enough and you will roll a 7.

On the way back from the Grand Canyon, we decided to go through the Petrified Forest and Painted Desert. The bit of luck occurred in Holbrook Arizona. It’s always fun to visit the towns along the old Route 66 highway. These are like small spots of history in the middle of the super Interstate monotony. A surprising amount of the town economy comes from encouraging the Route 66 tourist.  Holbrook is no except. It’s a gem of what the highway was during the 50’s and 60’s before Eisenhower’s great highways chopped the countywide into high speed blandness.

What fun it was to discover the Wigwam Motel. Driving east on I-40 (yes Interstate 40) from Winslow Arizona (Remember the old Eagles song…”Well, I’m a standing on a corner in Winslow, Arizona and such a fine sight to see. It’s a girl, my Lord in a flatbed Ford slowing’ down to take a look at me.” I digress. Now knowing the time period of the Wigwam Motel it obviously came before the “Cars” movie but there it was and there was Doc. Now if you don’t get to animated feature films very often you may not recognize my reference but it is a great movie and worthy of watching if for no other reason than Paul Newman’s last roll as the voice of Doc Hudson the Hudson Hornet. Well, there’s Doc in all of his rusty splendor along with gaggles of other rusty “characters”. What a great shoot, the angles and textures. The characterizations of when cars had a certain anthropomorphic presence and people gave the pet names, loving them more than their cats (notice I did not say dogs), stood out all around the motel. Take your time. Have fun. Are you getting the point?


Wigwam-001

Image 1 “The Wigwam”

One of the motel’s “units” 1/750 sec, f/8.0, -1/2 EV ISO 100, 95 mm/142 mm equivalent , I removed the top three power wires in Photoshop CC 14

Doc-001

Image 2 “Doc” Old cars are great for HDR (High Dynamic Range) Photography even if the shot wasn’t bracketed. This single image was processed as three images each about 1 f/stop apart. To give a very bright, a normal and a dark result they were then processed in Photomatix Pro a s if they were bracketed. 1/60 sec, f/22 (really need that depth of field), 0 EV ISO 100, 12mm.

Cars 3-001

Image 3 “Pick’um’up Truck” a real HDR stacking of 5 images in Photomatix Pro. I little negative vignette added to hide some edge flaws. Basic normal exposure 1/500 sec, f/9.5, ISO 200 (hand held HDR needs ISO a little higher to compensate for a slower shutter speed at the darker end) 18 mm. When bracketing for HDR change the shutter speed and not the aperture. Changing the aperture would effect the focus by changing the Depth of Field


[Images from the Id] – The County Fair # 2 or around and around we go

1 Star2 Stars3 Stars4 Stars5 Stars (No Ratings Yet)
Loading...

Images from the Id – The County Fair # 2 or around and around we go

Actually this could be any time there is a carnival and carnival rides. The upside says a lot of color and action with many chances to be creative. There are people and the possibility of fun night shots. People and midway shots are best later in the afternoon. Be prepared by controlling your camera for the situation. The camera should not dictate or limit your creativity. The after dark photography, when the all of the lights come on, is some of the most fun and challenging work you can do. As always practice, take a lot of images and learn from your successes. There is no such thing as a failure only a step toward success. You want to work toward that picture you have in your mind and what you want others to see. We call that “vision”.  Turn off the in-camera noise correction. Use software and shoot RAW of course. These images all require extensive exposure, saturation, contrast work in the computer. Use a tripod.

Carnival-001

This is a simple motion shot. Slow shutter to show motion 1/4 sec  (For the motion) , f/22( for depth of Field), -1 EV (these scenes  are brighter than you think) ISO 800 (needed for the f/22), 22 mm/33 mm (pretty wide)

Carnival-002


Something different , Three exposures (done in camera-I love these newer cameras), zoom during the second and third exposures. Each exposure was 4 sec (the camera automatically compensates for the exposure overlap) f/32 (actually needed to get the long exposure), ISO 200

Carnival-003


This image takes advantage of the repetitive motion of the Ferris Wheel.  Multiple exposures without zooming. Each image 4.0 sec (in this case to replicate the pattern), f/32 (again to get the long exposure) 0 EV, ISO 200 (this is optimum for this camera), 50 mm/75 mm

Carnival-004


This is simply zooming during the single long exposure. Remember all of these require a lot of work on the exposure, contrast etc. 4.0 sec, f/32, 0 ev, 50 mm/75mm ISO 200

Carnival-005


This one was another multiple exposure (2) each with a long shutter speed but waiting for the ride to tilt during the time between exposures.  3.0 sec, f/11, + 1/2 EV ( I have no idea why), ISO 200, 27 mm/40 mm

Have fun

[Images from the Id] – The County Fair

1 Star2 Stars3 Stars4 Stars5 Stars (No Ratings Yet)
Loading...

Images from the Id – The County Fair

County Fairs are one of the best places to photograph. Where else can you get fireworks (Hum, done that), lots of interesting people, activities and the carnival rides.

So let’s go:

Equipment for the trip

Adjustable camera – DSLR is the best just make sure you know how to adjust the exposure settings. You will be shooting in a great number of different lighting conditions and for different effects.

Lens/Lenses –  I like my 18 mm to 200 mm for this. Vibration reduction/image stabilization  can be very helpful. A longer telephoto will be useful for some of the activities (see Mutton Busting below).

Tripod – Hopefully you will have one that is easy to carry or park near the venue so you can go back to the car to get the tripod when you need it in the later afternoon and evening. One year I forgot to put the tripod mount on the camera and actually got some decent handheld fireworks shots.

That is all you need for a great variety of shots.

The Shoot –

I entered the Fair at 2 pm.  I had previously purchased tickets online to save about $4 per ticket. I had also checked the fair’s schedule to find which activities I wanted to photograph. This year, I had some very good choices. Fairs are amazing- you might see rodeos, tractor pulls, demolition derbies, along with the regular fair exhibits, animals, carnival rides and fireworks. I decided on a trained jumping dog act and the Mutton Busters where young kids ride sheep. No need to use a tripod for those. Later in the afternoon and as the light gets darker, I went for the carnival for people shots and the rides and, at last, the fireworks without the city light pollution. As the light goes down the tripod came out. This is a very full day.  Our first stop was the barns and I got a fun shot of a goat eating its Blue Ribbon. Other good opportunities would include interaction of kids and animals. I always like the hugs and kisses. Watch the exposure. The barns can be surprisingly dark.

Next to the jumping dogs. These shots are an exercise in motion. Try stopping the jumps at high points or inverted with fast shutter speed. More challenging is to use slower shutter speed to show motion with panning or blurring.

The Mutton Busters are really fun. Nothing like cute little boys and girls trying to ride sheep. Everything you can imagine can happen. Get down low. Watch your exposure because the depth of field can be tricky. You want the whole sheep and rider in focus. I use my 80 mm – 400 mm Telephoto for this. Plan on taking a lot of shots and try to get some of when the ride and mount separate.

Next week more at the fair.

Oink-001

I’m sorry I like pigs, “Oink” 1/90 sec, ISO 400, -! EV, f/5.6, 80 mm/120 mm equivalent.

Mutton Buster-001


From the Mutton Busters fun. “Ohhhhh!” A similar shot won first place the Fair’s Photography Competition  two years ago. 1/1000 sec, 0 EV, f/6.3, ISO 200, 130 mm/195 mm  equivalent

[Images from the Id] So you want great fireworks images? Try this

1 Star2 Stars3 Stars4 Stars5 Stars (No Ratings Yet)
Loading...

So you want great fireworks images? Try this

  1. Turn your flash off, Did I have to say that?
  2. Use a Tripod.
  3. Shoot RAW if you can. This allows a greater range of adjustment of exposure
  4. Use Manual Exposure mode
    1. Automatic Exposure will always overexpose.
      1. If you use automatic, the sky will be neutral gray with no color and the fireworks blown out with no detail.
    2. Adjust the Shutter Speed for the length on the trails on the fireworks. This is the base adjustment, aperture and ISO should be varied.
      1. Use a remote release. Watch the trails of the fireworks and use “Bulb” and time your shutter that way or you can vary the camera shutter setting for different results. The trails are easy to expose because they are moving and bright. Remember the longer the shutter speed the longer the trails.
    3. Adjust the aperture for the brightness of the fireworks. They are very bright.
      1. Take test shots.
      2. Look for color with the least highlights blowout. There will alway be some.
      3. There is a tendency to overexpose. Work for colorful fireworks.
  5. ISO will not to be high. Example using ISO 200, 2 sec, f 16 is the same exposure as 2 sec, f 8, ISO 100. Lower ISO is better.
    1. Think about what changing any of the settings mean.
      1. Keep in mind the Exposure Triangle and what happens to one when you change the other) Remember the shutter speed is for the length of the trails.
  6. Turn the in-camera noise reduction off. This shortens time between exposures. Do noise reduction in software.
  7. Experiment with zooming, moving the camera or changing the focus. Be creative to make your images unique. Do some hand held for interesting effects.
  8. Check out the exposure values on the examples. Have fun

Fireworks 2-001

“Burst” – 5.0 sec, f/11, ISO 100, 75 mm Adjusted Lightroom for contrast to get back sky and color


Fireworks-002

“The Show” – 2 sec, f/8.0, ISO 800, 22 mm/33mm full frame equivalent, This was handheld at 2 sec WOW adjusted in Lightroom for sky and color

Fireworks-003

“Night Flower” – 5.0 sec, f/29, ISO 100, 70 mm. This is an award winner. The long 5 sec exposure makes it special. Adjusted in Lightroom fro color and contrast

Fireworks-001

“Starry, Starry Night” Another award winner.  1/8 sec, f/8.0, ISO 200, 55 mm/ 82mm full frame equivalent. Adjusted in Lightroom for contrast and color


[Images from the Id] – One in 5 Million or What Makes My Shot Better?

1 Star2 Stars3 Stars4 Stars5 Stars (No Ratings Yet)
Loading...

Images from the Id –  One in 5 Million or What Makes My Shot Better?

Every year the Grand Canyon has more than 5 million visitors and if you assume an average of 10 photographs per person that means 50 million images of the national park are taken each year. So how can yours be special and different?

Canyon 1-001


Sunset with rich saturated colors from the especial light. An HDR of 5 images done in Photomatix Pro. Shutter form 1.5 sec to 1/3 sec F/22 ( don’t vary in HDR) 0 EV, 100 ISO

First: The light is the most important. Plan for at least one sunrise and one sunset. Your best light, as I say many times, is one to two hours before sunset or after sunrise. You cannot  fix this in Photoshop or anything else for many reasons. The color of the canyon is total different at other times, this is where the beautiful warm reds and oranges come from that we like so much. Really serious? Get the smartphone app “The Photographer’s Ephemeris”  I will not only tell you the time of sunrise and sunset for different dates but the location on the horizon of the Sun and Moon rising and setting. These all can be significant in picking the place on the rim to shoot from.

Second: Use a tripod- this gives much more versatility. It is important to be flexible with your exposure setting and depth of field. It also open the possibility of shooting exposure brackets for High Dynamic Range (HDR) images. These images show detail over a large range of “brightness” and sell.

Third:  Look for composition. Try using trees, bushes or structures to give a landscape a partial frame. Some times that isn’t needed just another tool

Fourth:  Look for different subjects. Try macro-landscapes, taking a telephoto image of a small part of the scene.

Fifth: Take a lot of shots and practice new techniques.

Canyon 2-001


Even noon light can work by letting us into the inner canyons HDR saves the shot. 5 images done in Photomatix Pro. Shutter form 1/30 sec to 1/500 sec F/11 ( don’t vary in HDR) +2 EV, 200 ISO