
Here I sit in a cold wave. It’s very cold out and I really want to go out. If I go out I get cold. If I go out I take more photographs. If I take more photographs I get farther behind on processing and sorting images. So maybe it is time to sit here and get some WORK done. Argh! I thing I like least about what I do is sorting images. Problem? Yeah, as I became a better photographer more and more of my images started looking good, good and bad. Bad because it became harder to make decisions on which to keep and how to process and that takes time. My excuse in the past for not processing has been, honestly, to put it off until winter, Then, 3 species of Loon are spotted at Cherry Creek and I find a new beaver dam. So where should I be? We always have excuses for what we don’t want to do. Yes, it is nice to see results but sitting in a chair and staring at a computer?
We must have an assault plan. Here I go, time to get to it. The first weapon, and the thing that makes the goal seem reachable is Adobe Lightroom 5. As you may know, I have become a LIghtroom guru. I make extra money coaching it and Photoshop. Every serious photographers has a game plan, aka, workflow. The workflow should start with organization. It takes time and effort to come up with the organizational plan and Lightroom shines here. There are many ways to do it. I like to do it by date and shoot title. I do extensive key wording and rename the files to make Lightroom’s ability to search most useful. I do everything in Lightroom, that is what it is for, until I need to work on it in Photoshop or something else and even that is done through Lightroom. Some, I know, use Adobe Bridge. Its capabilities are much less than Lightroom. It was not designed for photographers and does not make workflow simpler. Lightroom not only keeps my 130,000 images organized but also all of the internal and external processing straight.
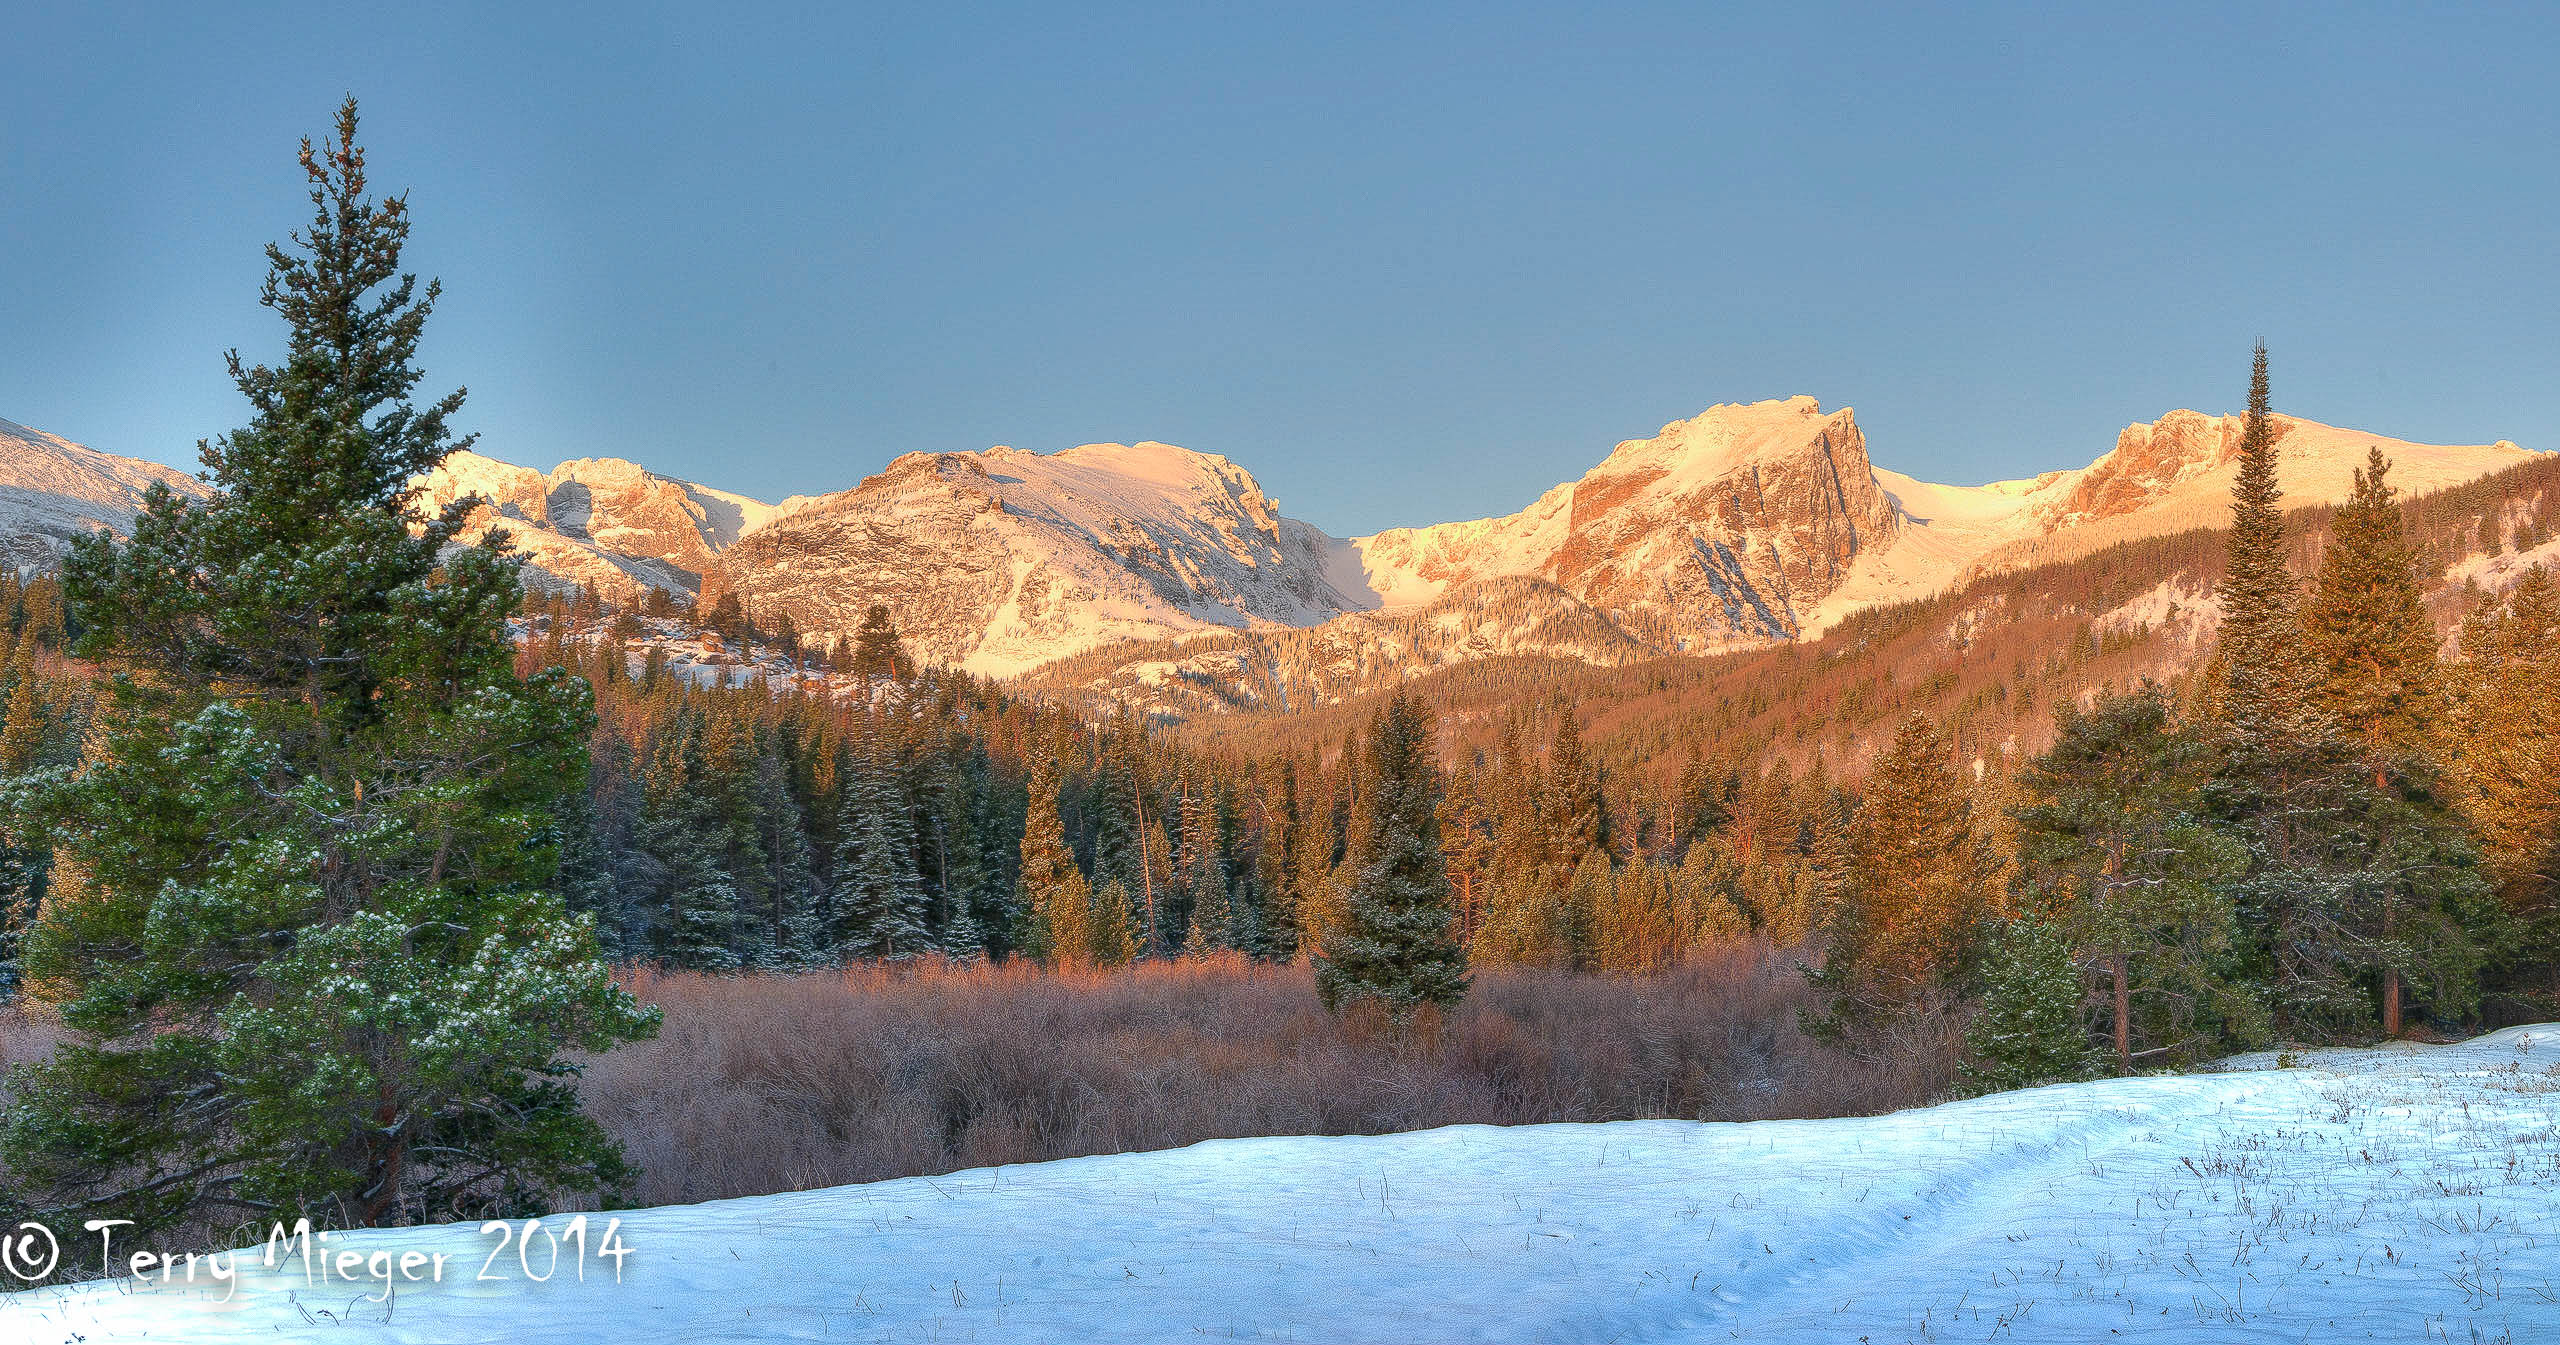
Image #1 – From Moraine Park RMNP. The early “first light” at 7:10 am DST, gives the interesting color to the scene especially the sky. This is an HDR composite of 5 shots each varying by 1 f-stop above and below the average. This gives an extended dynamic range but does flatten the contrast. The information is for the average exposure. 0.5 sec (tripod), f/9.0, ISO 100, 75 mm.
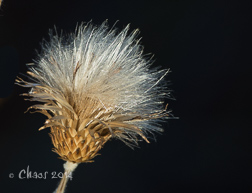
Image #2 – Thistle at Sprague Lake RMNP. This is an example of using the light. It was taken at dusk, about 5:00 pm DST this time of year. The background was a shadow. Exposure was lowered to produce a back background. 1/200 sec. this is where the expose was lowered, f/7.1 I did not want any more DOF (depth of field) wanted just enough to get the whole thistle in focus, ISO 100, 400 mm/600 mm (also helps control the DOF and the angle of the shot.
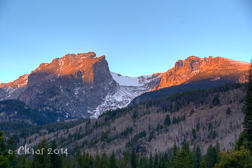
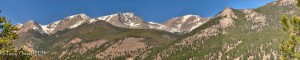
Image #3 – Hallett Peak from Storm Pass RMNP. Taken in early light 7:30 am DST. Again a five image HDR. This allows the shadow detail and detail in the brighter areas. Using a tripod with the 24 mpix file gives the extremely high resolution. 1/13 sec (average image of the 5) , f/10 Trying to get the highest DOF possible with the ISO 100 70 mm.